# Preparation
# Purchase List
Before you can use the FlyDog SDR expansion board, there are a number of components that need to be prepared.
- The Raspberry Pi body
- Suitable antenna to receive signals, you can go to Antenna Selection Guide (opens new window) to choose the right antenna to purchase
- It is recommended to use the official Raspberry Pi power supply to ensure stable operation of the FlyDog SDR expansion board
- Class 10 Micro SD card with a capacity of 8GB or more to keep the system running smoothly
- Micro SD card reader for writing images to the SD card
- A network cable to connect the Raspberry Pi to the network. Super 5 double shielded cable is recommended to reduce the interference.
In addition, the following components are highly recommended, but not required
- GPS antenna for time acquisition and frequency calibration
- A case for the Raspberry Pi to protect it from short circuits
- A heat sink for the FlyDog SDR expansion board and Raspberry Pi to extend the life of the board
- If you are in a lightning-prone area, consider using an 800J surge protector to protect the board from power surges
# Write Image to SD Card
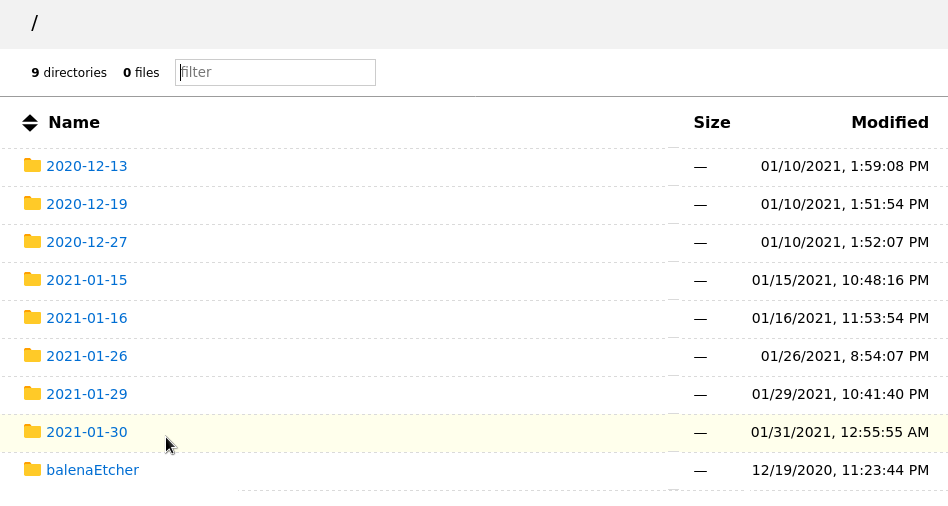
Go to github.com/flydog-sdr/raspbian-builder/releases (opens new window) to download the latest FlyDog SDR system distribution.

Depending on the operating system, there are different ways of writing images to the SD card.
In the following tutorial, the image is called 2020-12-13-FlyDog-SDR-lite.zip.
# Windows
- Go to next chapter (opens new window) and choose to install an SD card burning tool, here we use balenaEtcher as an example
- After installation, run balenaEtcher and import the file
2020-12-13-FlyDog-SDR-lite.zipthat will be flashed to the SD card - After selecting the target SD card, click Flash and wait for the image to finish
- Remove the SD card and insert it into the Raspberry Pi SD card slot
# macOS
The procedure for macOS is much the same as for Windows.
- Go to next chapter (opens new window) for the balenaEtcher download URL
- Once installed, run balenaEtcher and import the file
2020-12-13-FlyDog-SDR-lite.zipthat will be flashed to the SD card - After selecting the target SD card, click Flash and wait for the image to finish
- Remove the SD card and insert it into the Raspberry Pi SD card slot
# Linux
This method is suitable for Fedora Linux, Debian Linux, Ubuntu Linux, Arch Linux and other major Linux distributions.
- Go to next chapter (opens new window) for the balenaEtcher download URL
- Download the Appimage archive provided by balenaEtcher according to the system bit number you are using, extract the file ending with
.AppImageand run it - Once balenaEtcher has started, import the file
2020-12-13-FlyDog-SDR-lite.zipthat will be flashed to the SD card - After selecting the target SD card, click Flash and wait for the image to finish
- Remove the SD card and insert it into the Raspberry Pi SD card slot
